Rendering
Cycles settings, lighting checks and viewport performance.
Render Guide
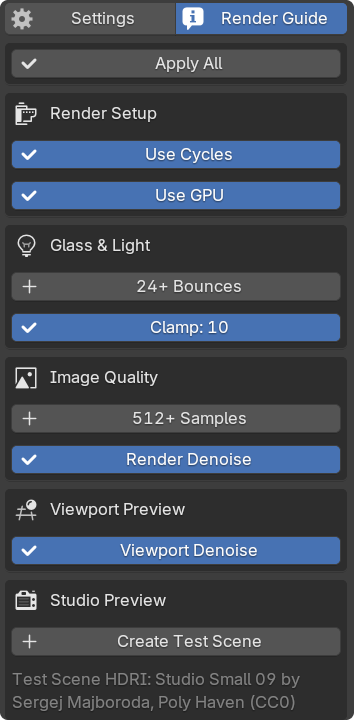
Section titled “Render Guide”- Open Gear › Render Guide and click Apply All.
- Turn on your GPU in Edit › Preferences › System › Cycles Render Devices.
- Check the result in a render or in Rendered viewport shading.
Each recommendation can be applied alone. Click it again to undo, or use Restore All.
Create Test Scene opens a separate studio scene with a glass, lights and camera. Switch back from Blender’s scene menu.
Drinks need Cycles. EEVEE and Material Preview will look different.
Bounces and caustics
Section titled “Bounces and caustics”Pouring a drink raises Total and Transmission bounces to at least 16. Use 24 for final images, and more when several glasses stand in a row and black patches remain.
Keep Reflective and Refractive on under Light Paths › Caustics. Without them cloudy drinks go dark.
For a bright spot of light on the table, turn on Gear › Settings › Advanced › Glass Shadow Caustics and Shadow Caustics on the light.
Performance
Section titled “Performance”| Slow part | Fix |
|---|---|
| Viewport | Hybrid quality. Light viewport, full render detail. |
| Heavy effects | Lower Viewport Detail, or hide them with their screen icon. |
| Playback | Gear › Settings › Advanced › Hide Condensation on Playback |
| Render time | Use Dispersion only for close-ups. |
Hide Liquids and Hide Effects on Models clear the viewport without touching the render.