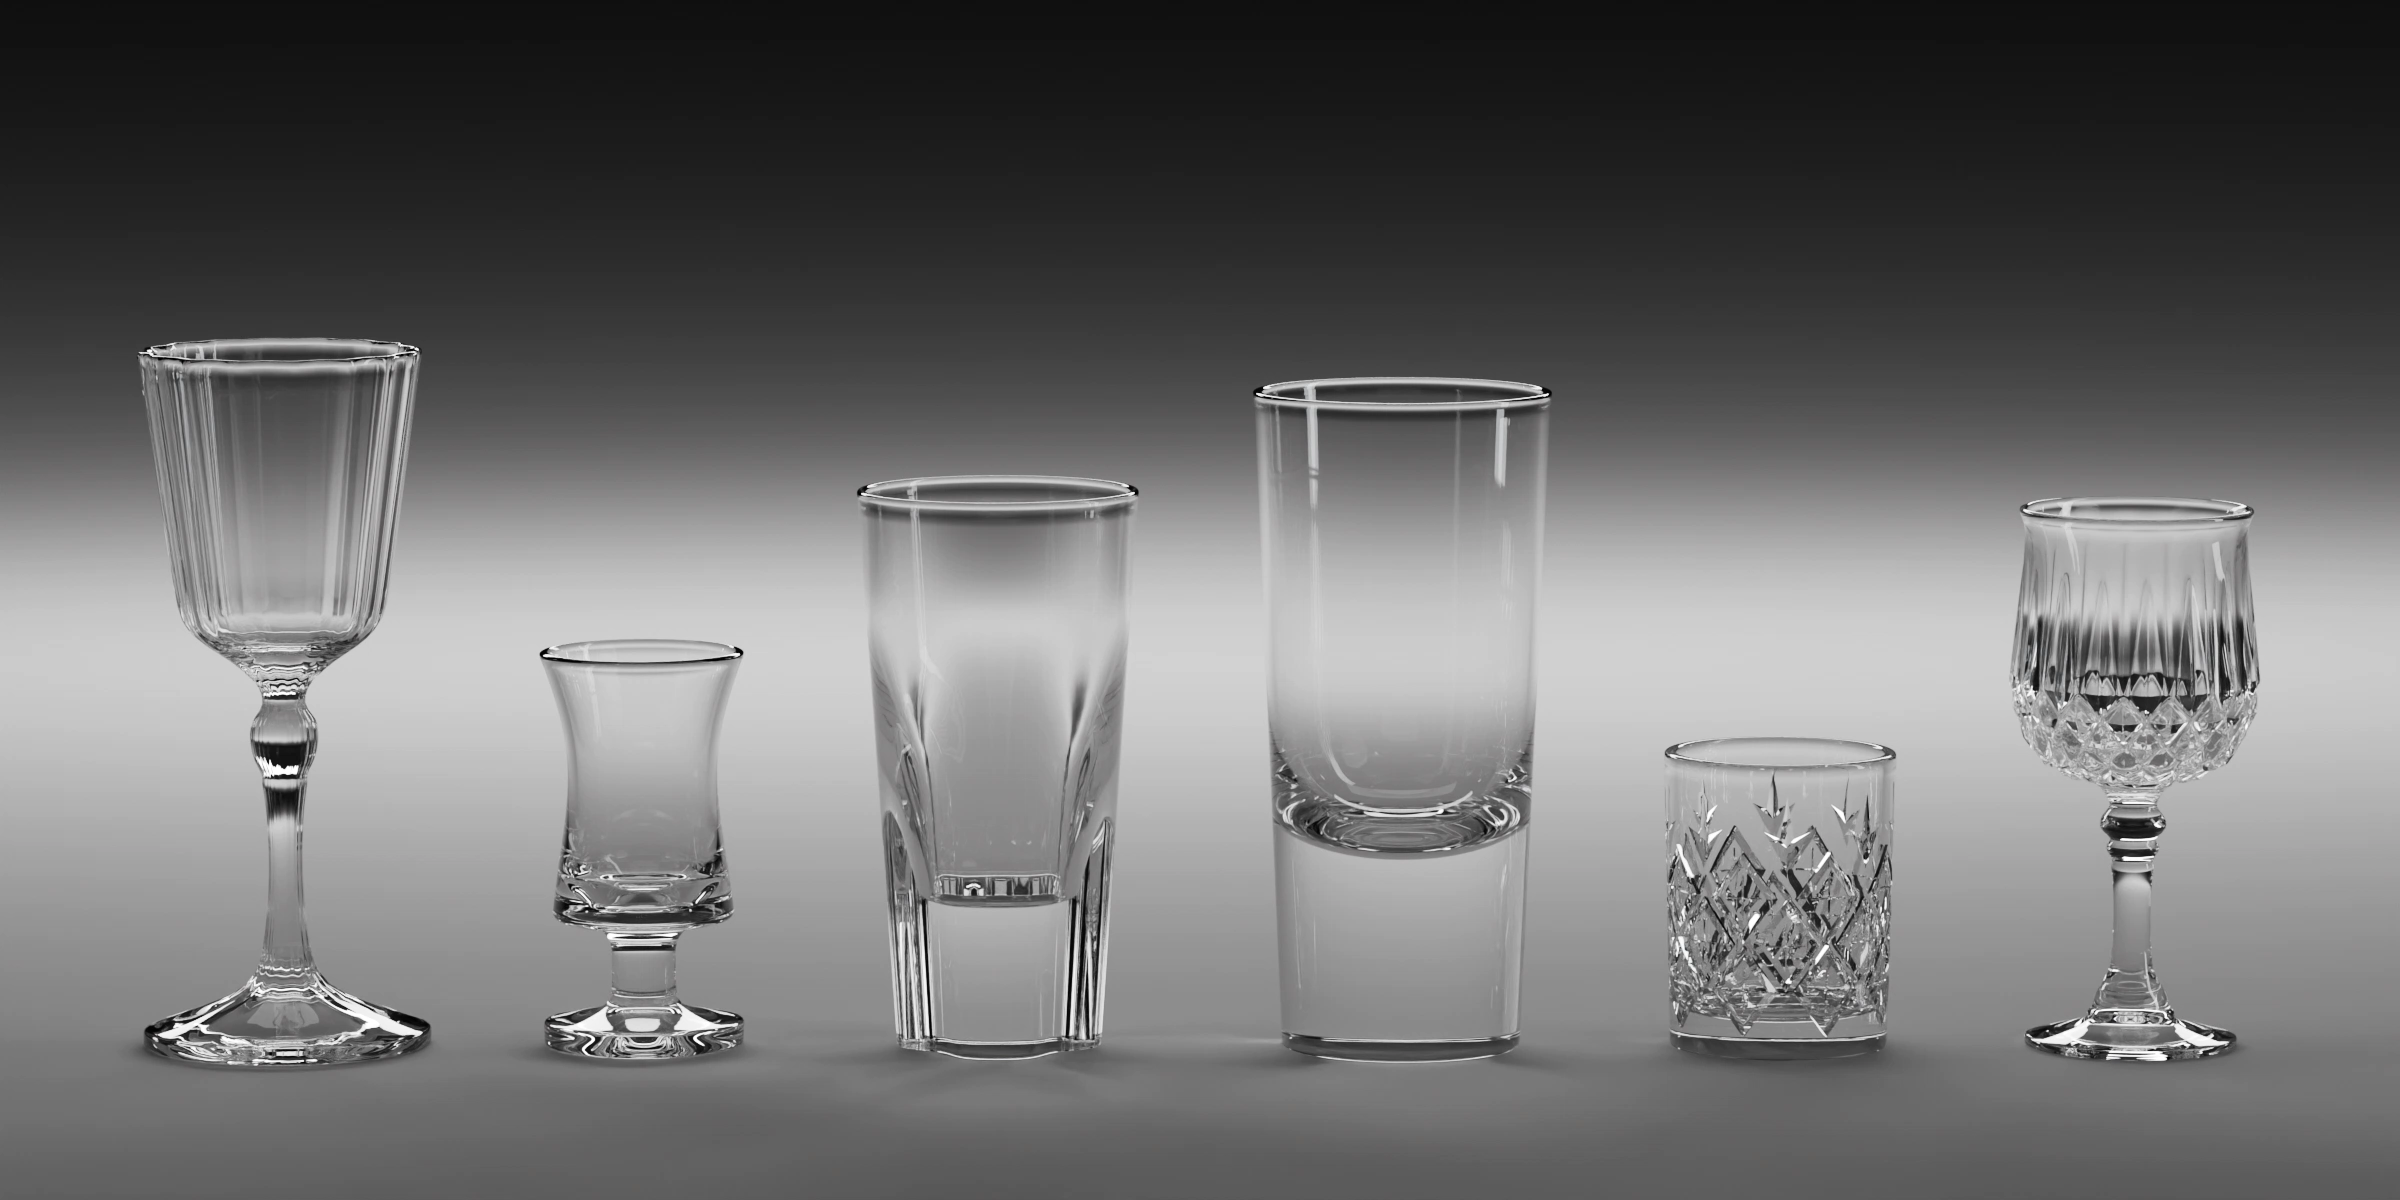
Glasses
Models tab: add glasses, choose quality and arrange a row.
Pick a glass
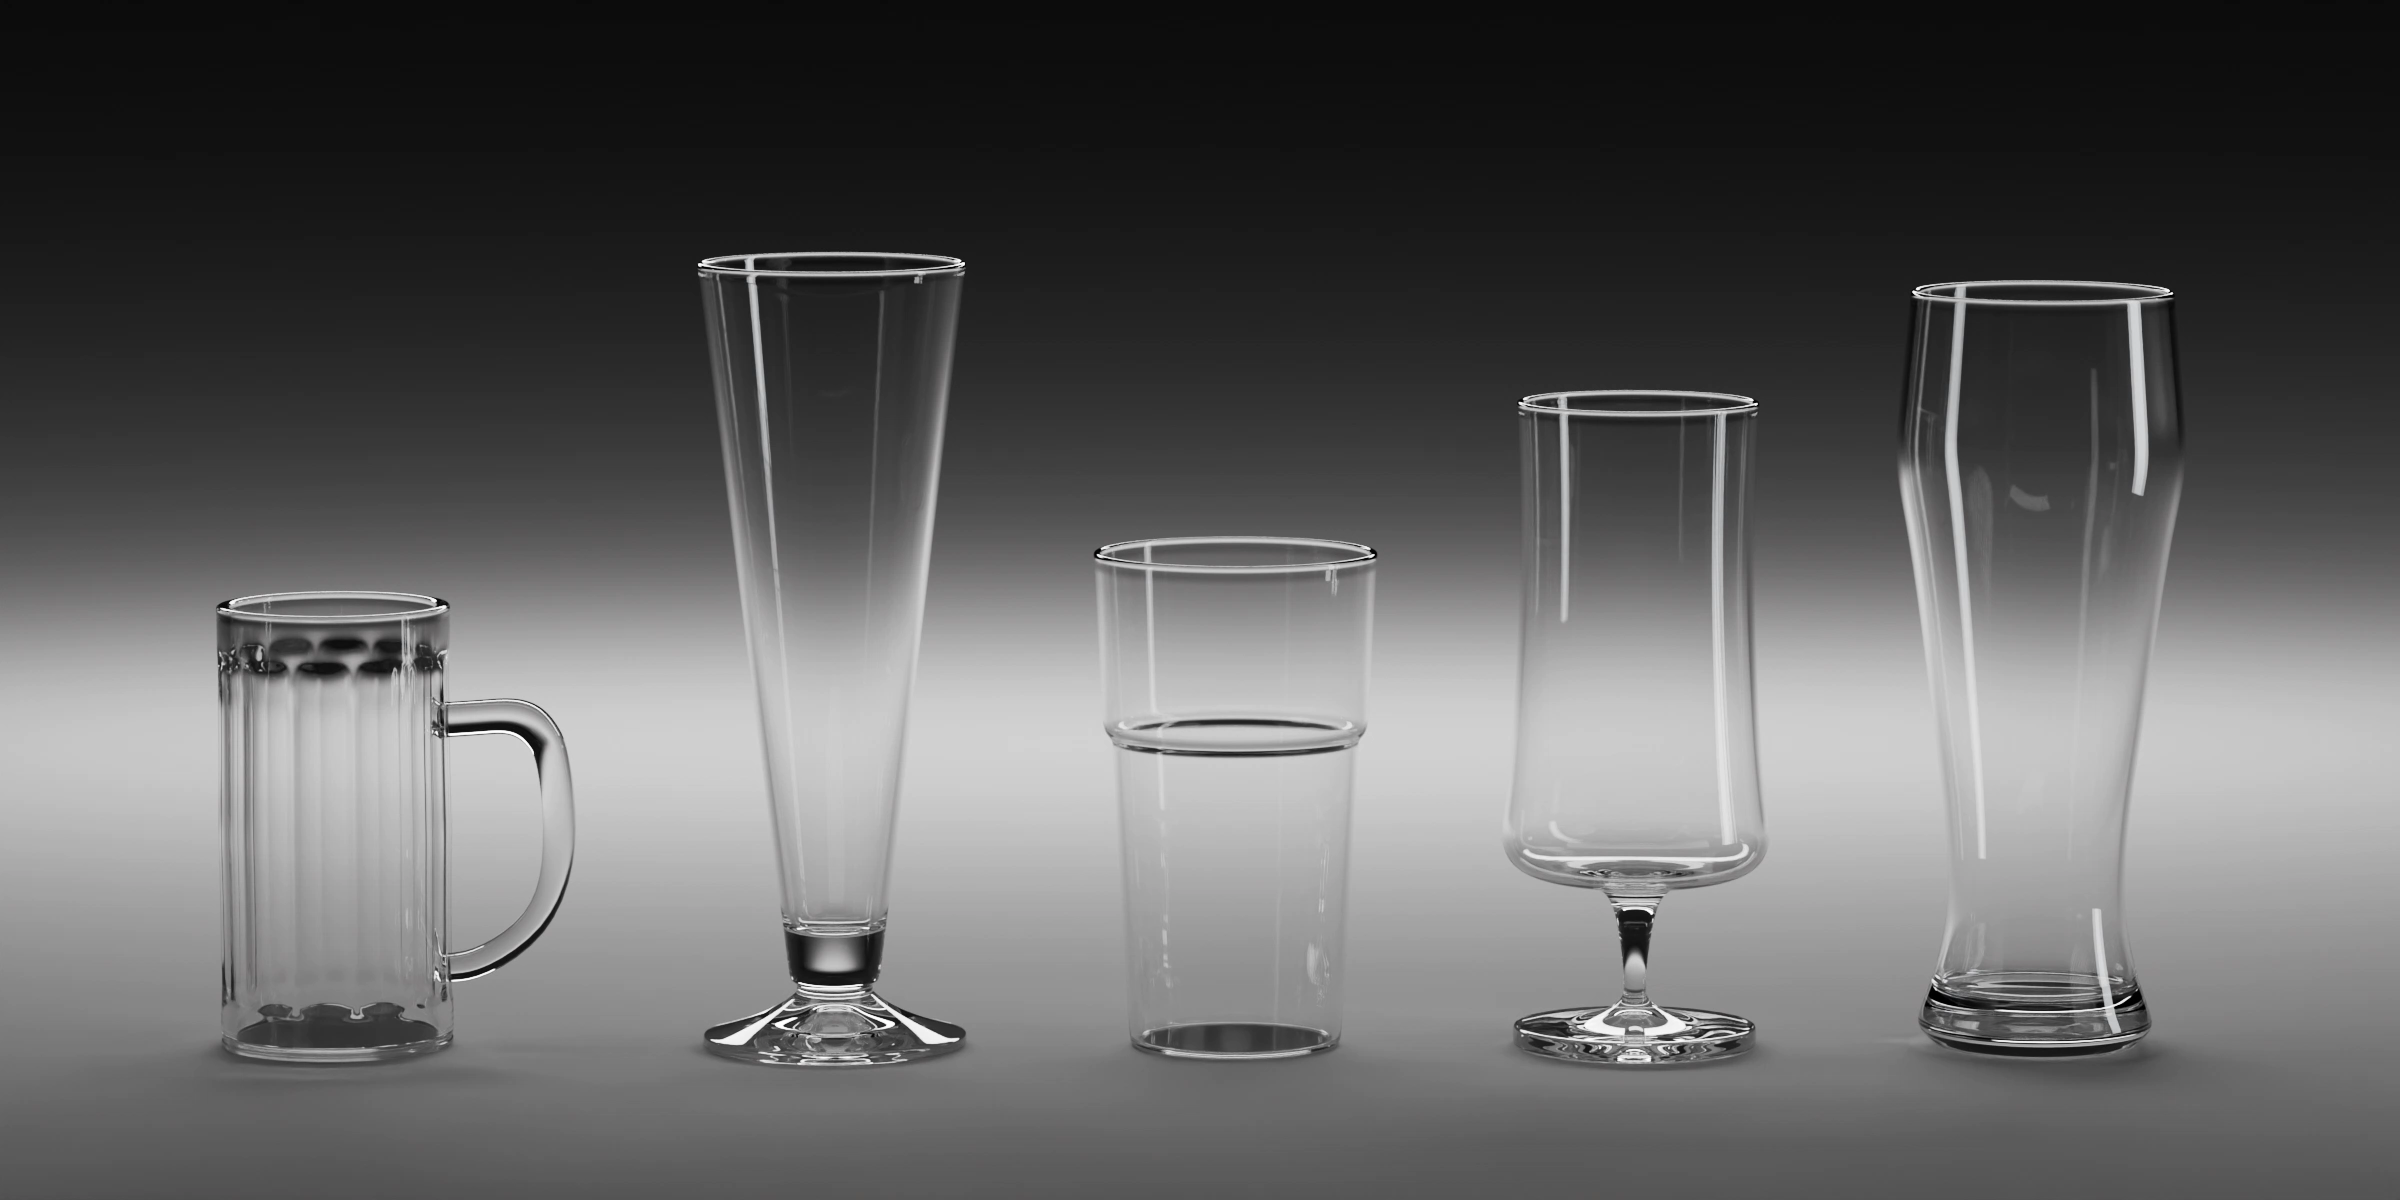
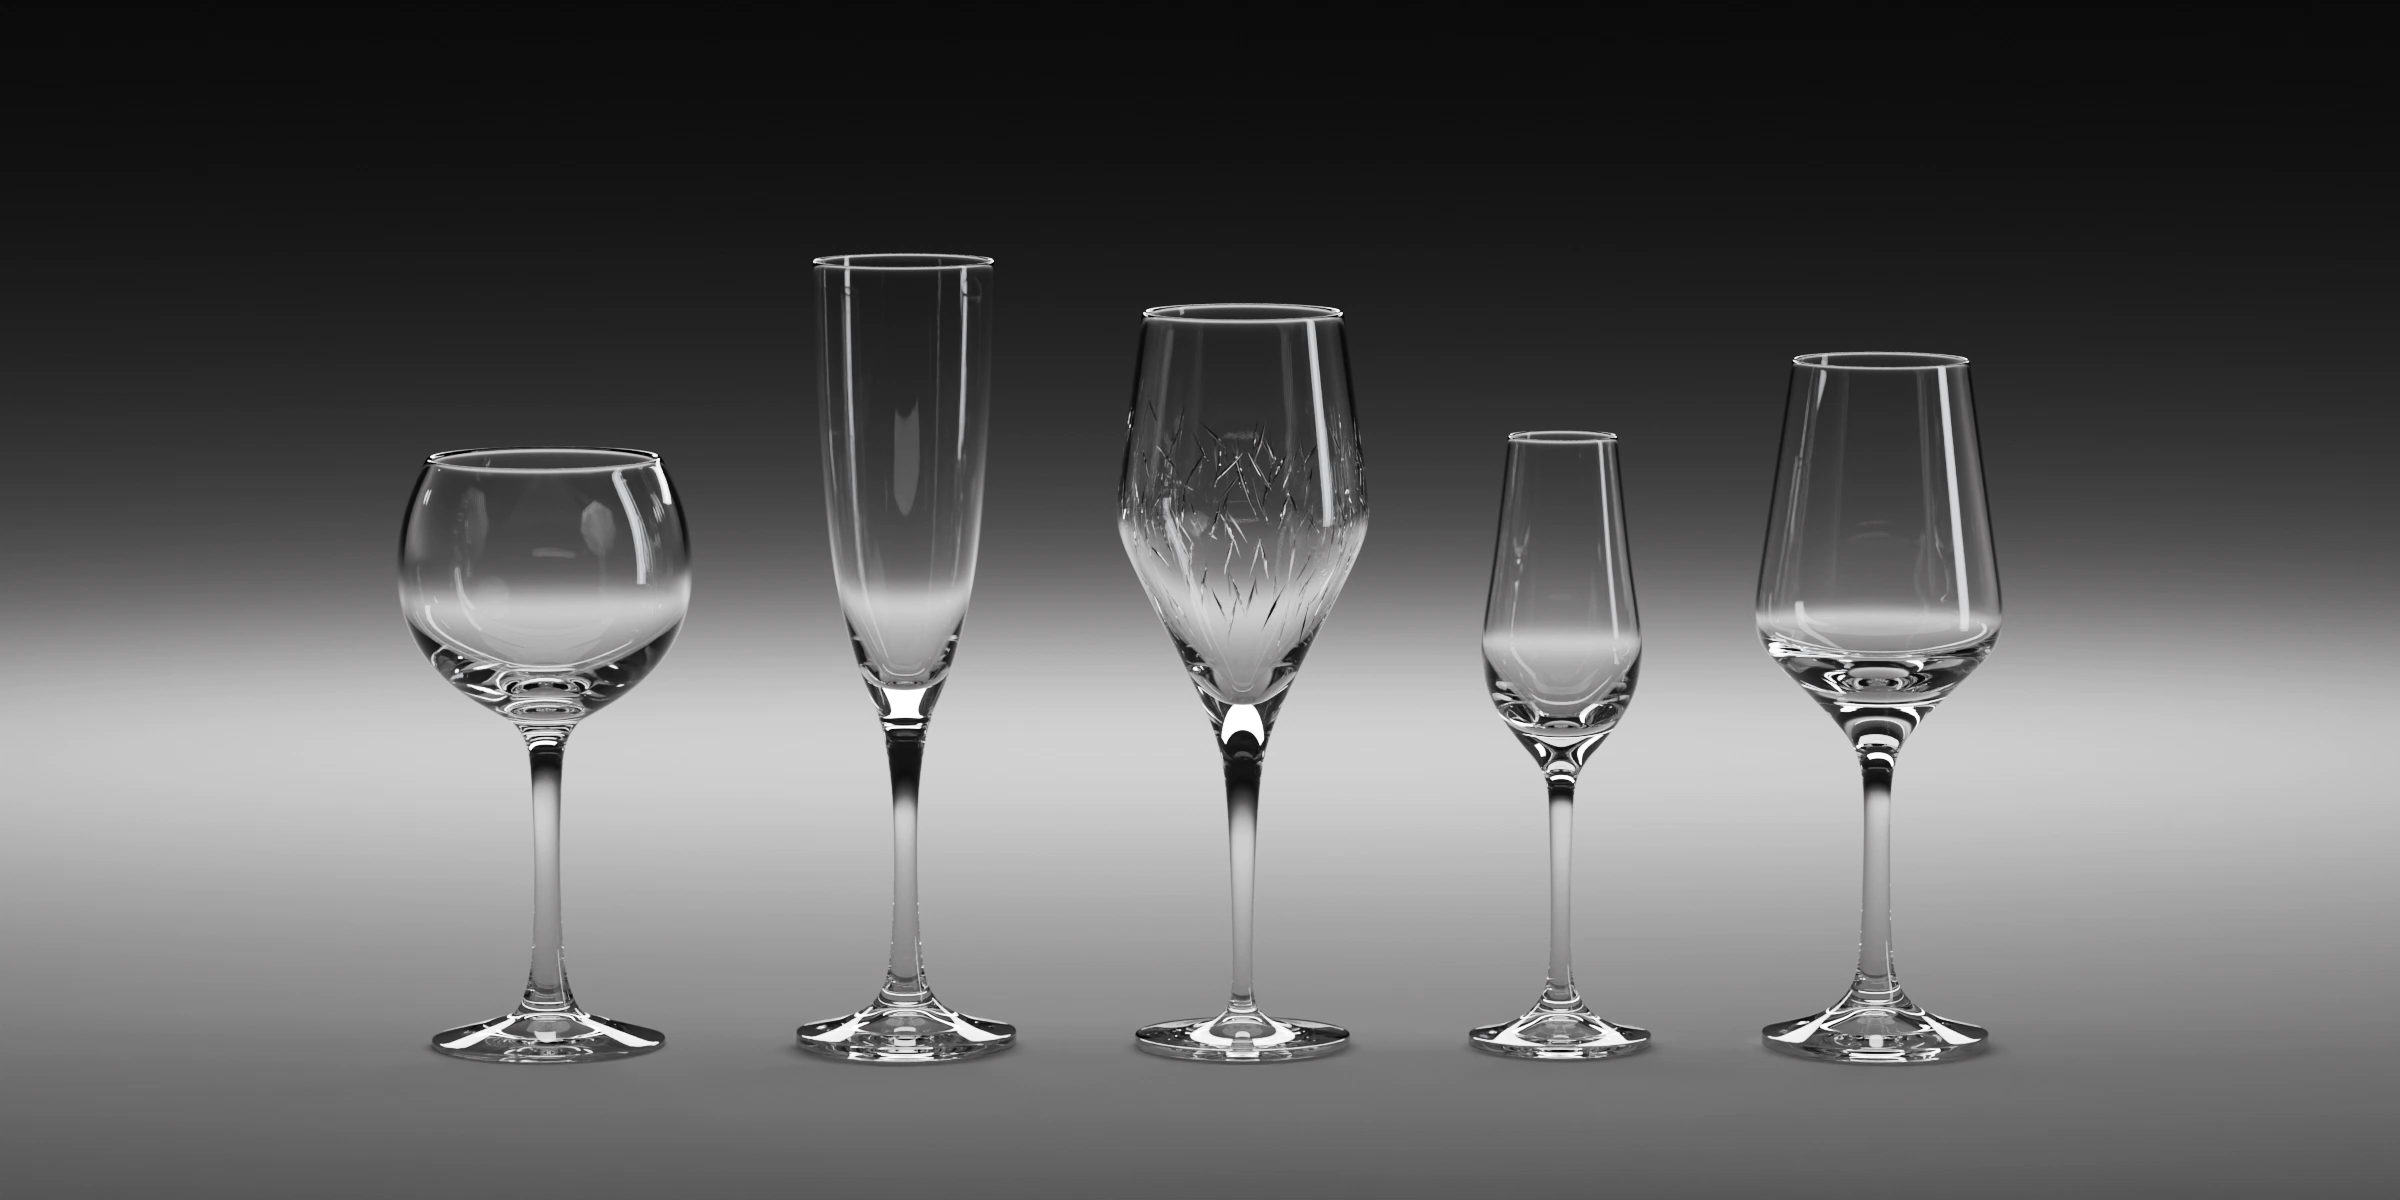
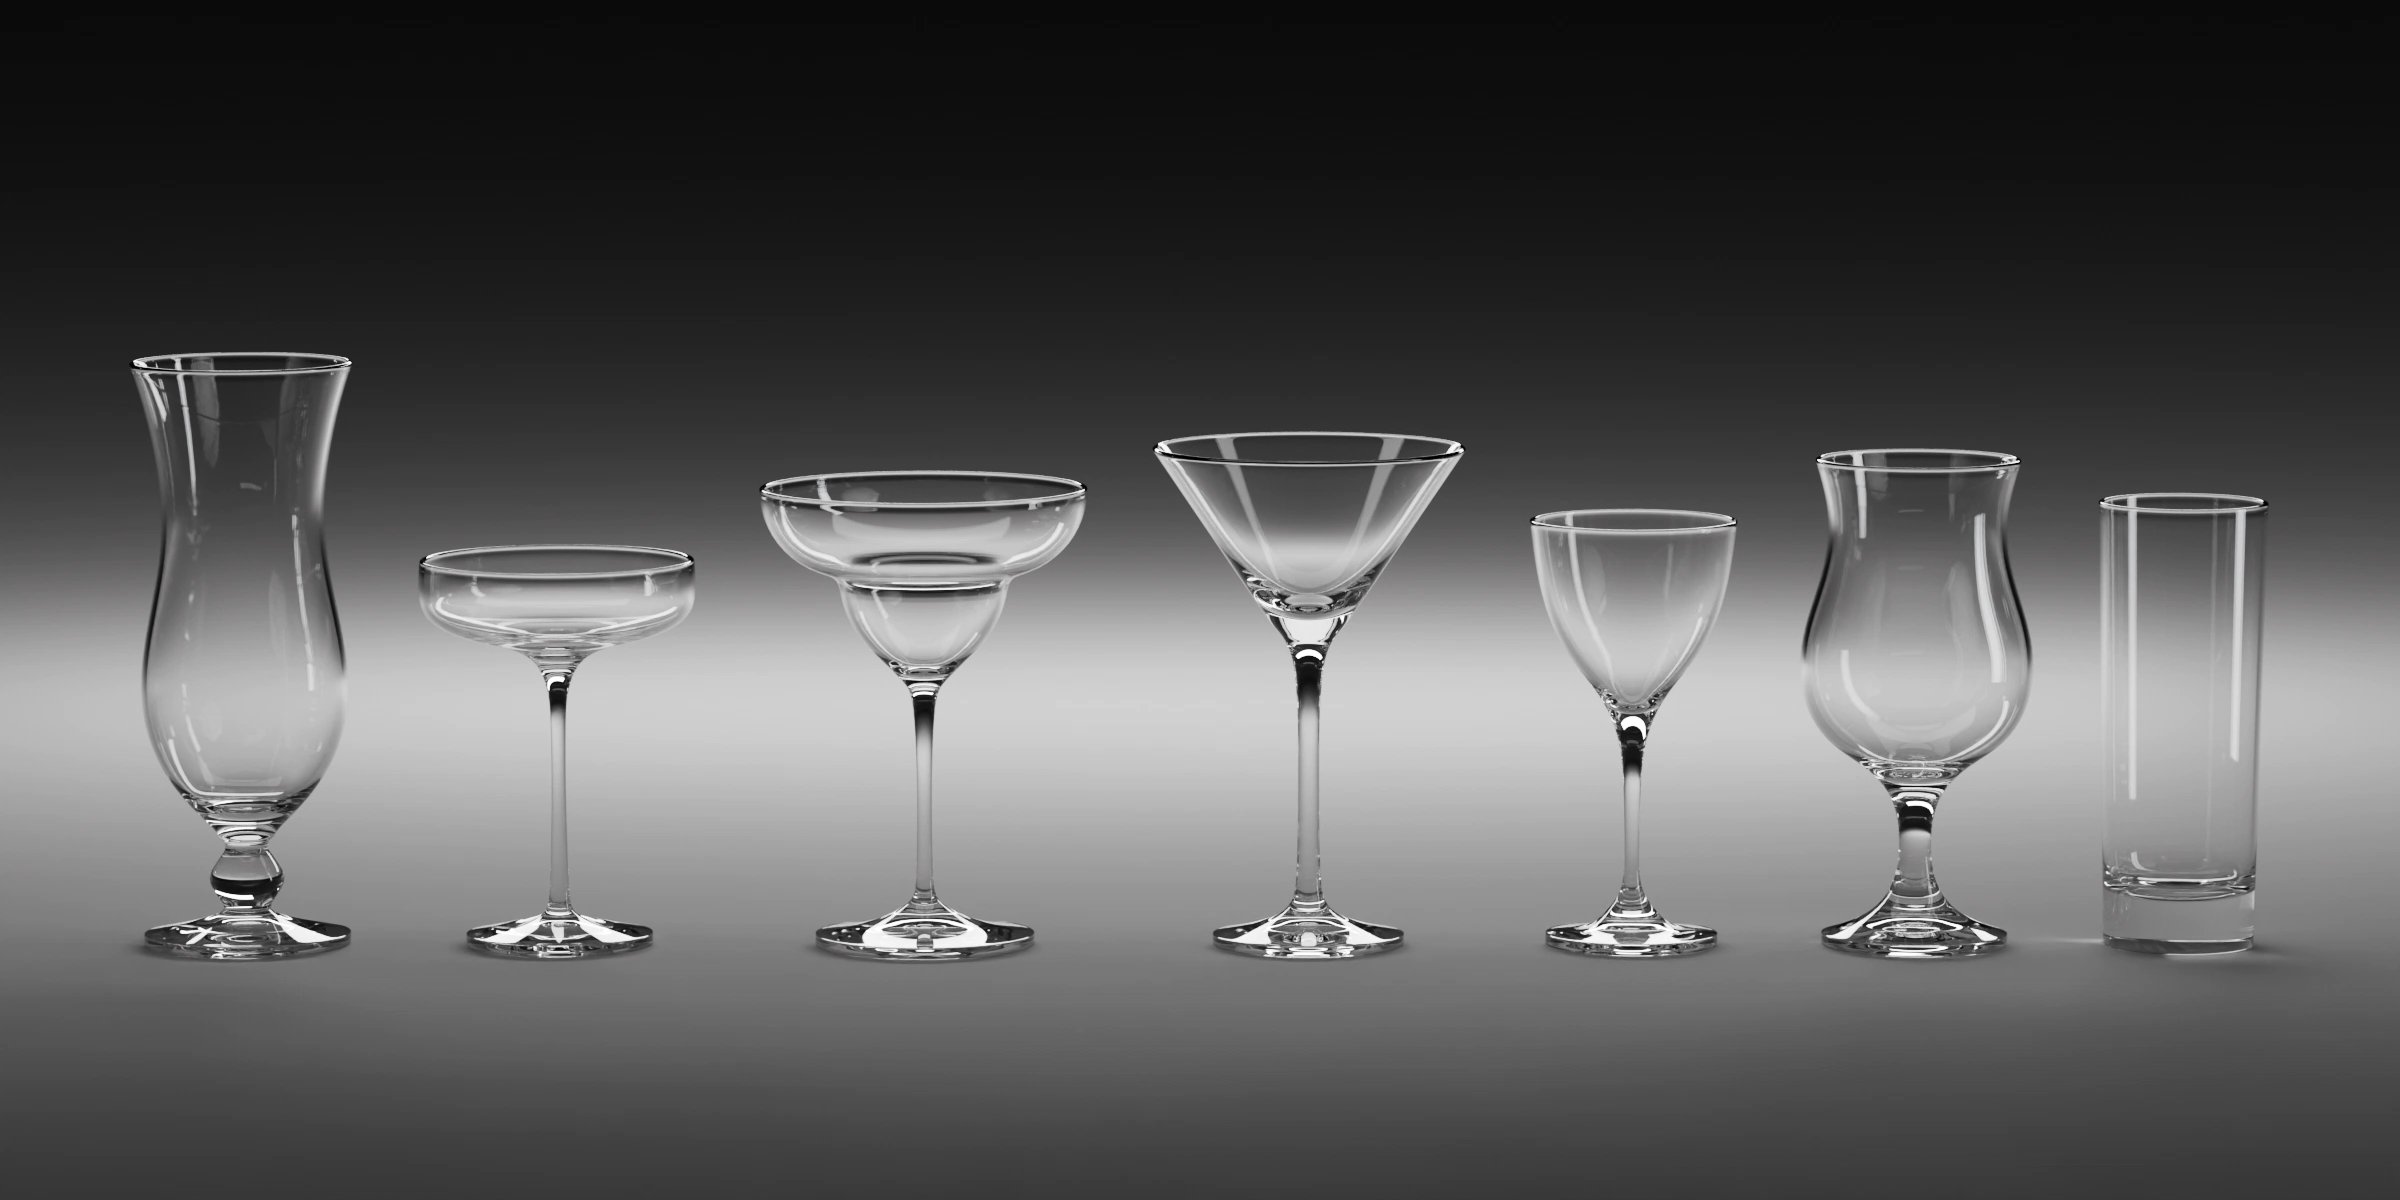
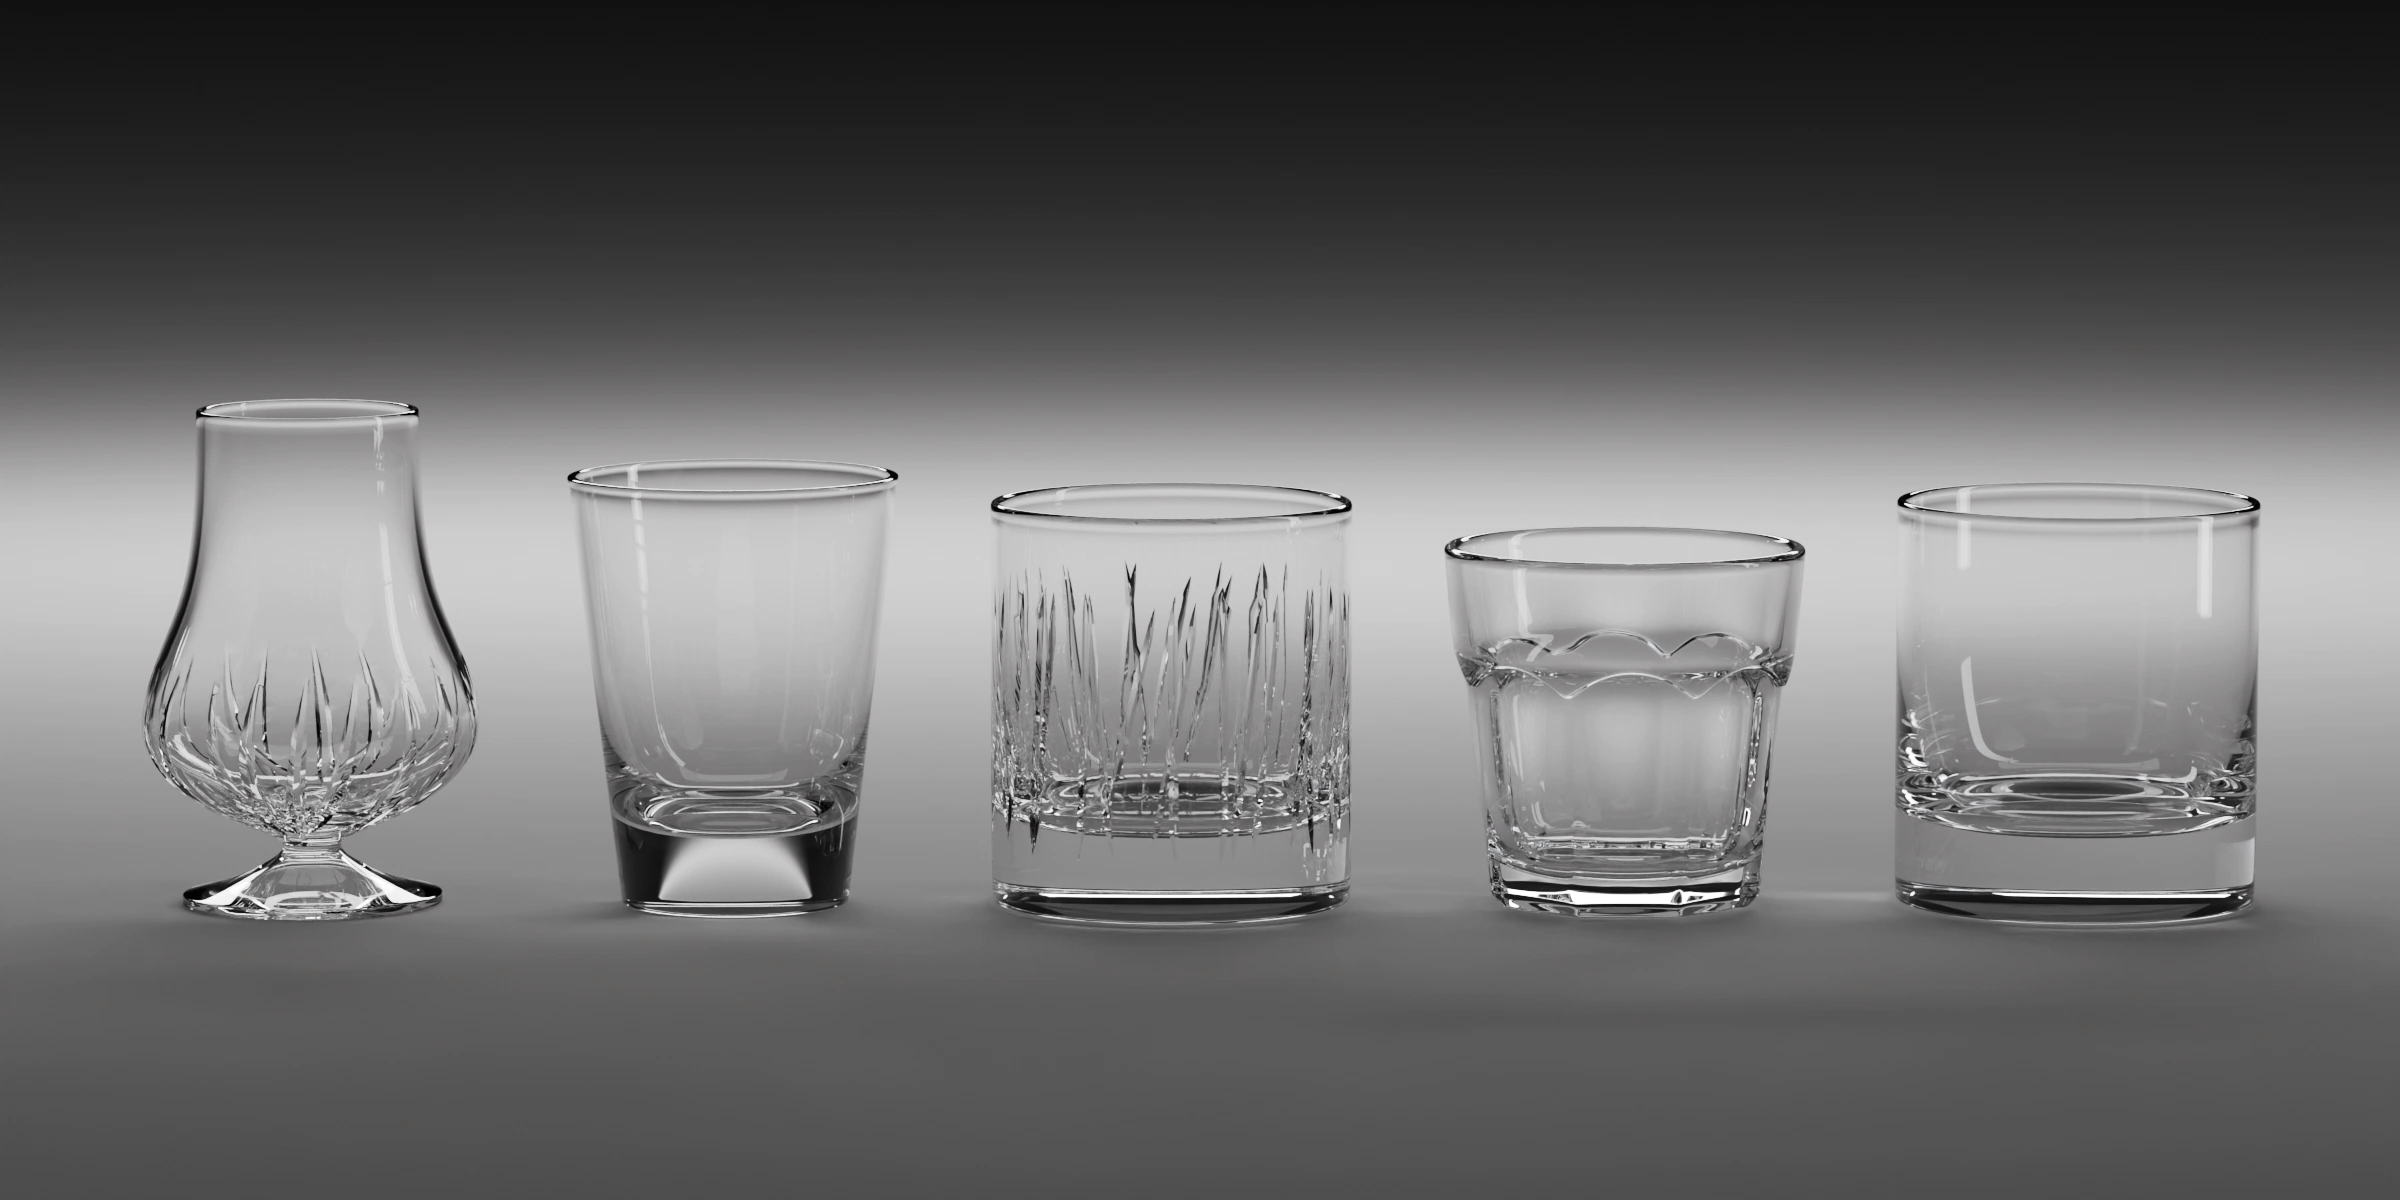
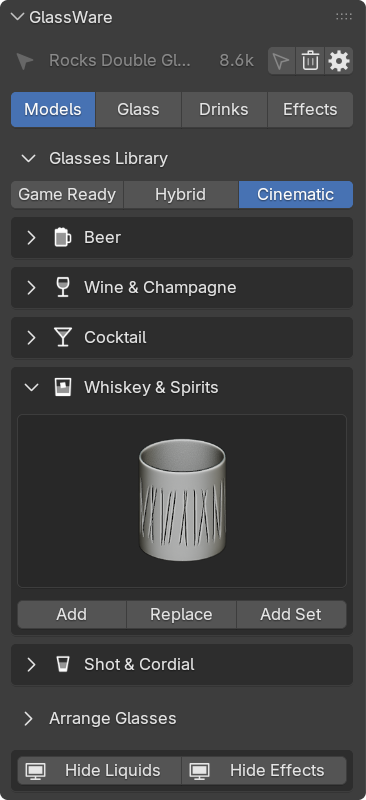
Section titled “Pick a glass”On Models, open a category and click the preview. Hover and scroll over it to flip through the glasses.
28 glasses in five categories.
- Add: place the glass at the 3D cursor.
- Replace: swap the selected glasses. Drinks and effects stay.
- Add Set: place the whole category in a row.
Quality
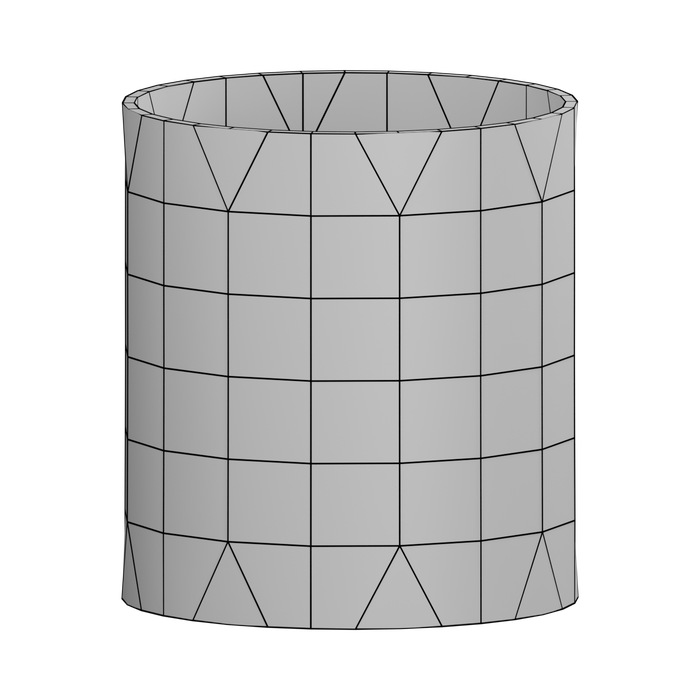
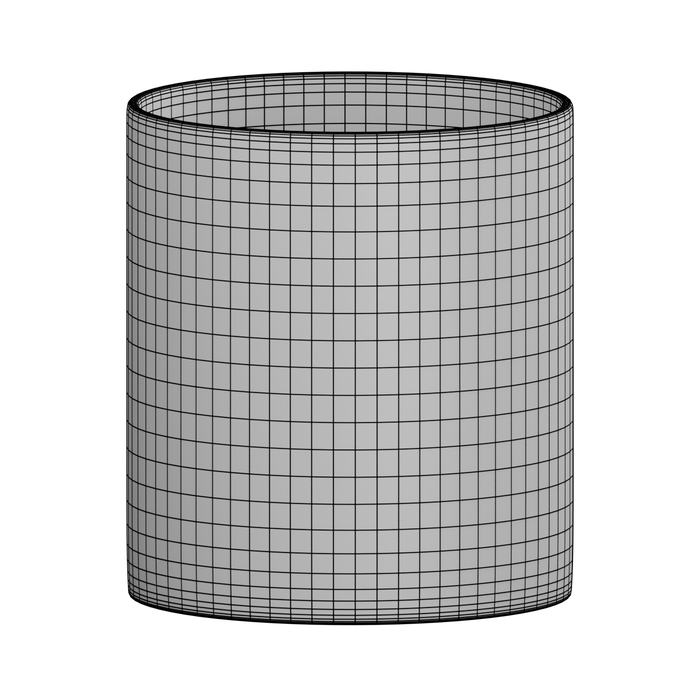
Section titled “Quality”Every glass ships twice: a light Game Ready mesh with a baked normal map, and a detailed Cinematic mesh.
The quality buttons above the library pick which one the viewport and the render use. Switching keeps your material, drink and effects.
| Mode | Viewport | Render |
|---|---|---|
| Game Ready | Game Ready | Game Ready |
| Hybrid | Game Ready | Cinematic |
| Cinematic | Cinematic | Cinematic |
Hybrid is the best default: a fast viewport and full detail in the render. The number beside the selected glass counts its viewport vertices.
Arrange a row
Section titled “Arrange a row”Open Arrange Glasses.
- Center Selected Glasses: move the selection to the 3D cursor.
- Glass Spacing: set the gap between selected glasses.
- Add Random Glass: add variety to a shelf. Turn its button on in Gear › Settings › Panel Layout.
New glasses slide aside until they clear their neighbors and get a small random turn. Switch both off in Gear › Settings › Adding Glasses.
Duplicate
Section titled “Duplicate”| Keys | Result |
|---|---|
| Shift D | An independent copy with its drink and effects. |
| Alt D | A linked copy. Lighter for big shelves, but an edit to one changes all. |
Hide Liquids and Hide Effects
Section titled “Hide Liquids and Hide Effects”These buttons at the bottom of Models hide every drink or every effect in the viewport. Renders are not affected.
Glass sets
Section titled “Glass sets”